How to make marshmallow fondant
 How to make marshmallow fondant
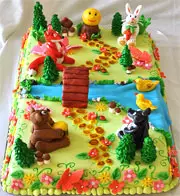
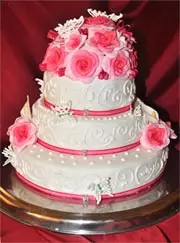
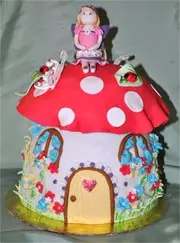
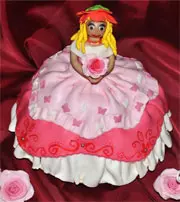
Marshmallow fondant (MMF) is very popular in cake decorating. I think the best thing about it is that it is very easy to make and quite fast as well. You don’t need that many ingredients and the process itself is very easy. Almost everyone loves marshmallows. Why not to add a bit more of favourite sweetness to your special cake. Kids would be the first to love marshmallow cake decorations. I’ve used marshmallow fondant for all my cake decorations so far. However, I might start trying some new things, like sugar paste, but this type of fondant will always be my favourite. Many people are asking how to make marshmallow fondant. So this is the way I make it:
Step 1
I take marshmallows of one colour. Well, it depends on what colour you need to get at the end. If it is black, then you certainly don’t need to separate colours, just melt as many marshmallows as you need. It is not that easy to find just white marshmallows in any supermarket in Sydney. They are mainly pink and white in one pack (**). Or, sometimes I buy the packs with also yellow and orange in it. It is very convenient to have marshmallows already coloured in the colour you want the fondant to be.
The amount of marshmallows depends on how much fondant you need. If you just need a little amount to make a figure or a couple of flowers, then you need to take just a handful of marshmallows. If you need to cover the standard size cake, then you’ll probably need about 100 g of marshmallows. But it is always better to make a little more, just in case.
*** If you want to make flowers and figurines you will just have to knead in some Gum Tragacanth or Tylo powder so they dry up hard. This is where you can buy Gum Tragacanth or Tylo:
(**) Please see the comments kindly given below about where you can find just white marshmallows.
Step 2
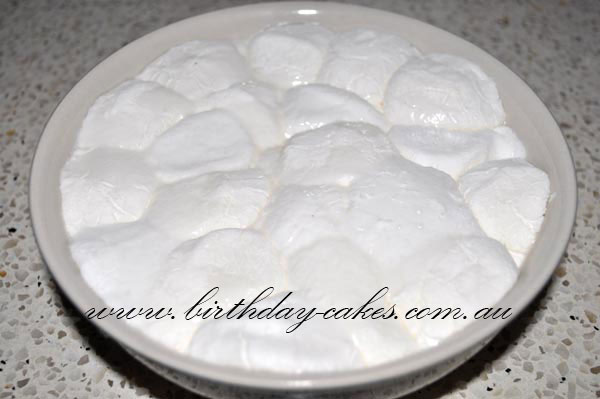
Put the marshmallows in a heatproof bowl suitable for microwave. Add a tablespoon of water or lemon juice. Microwave for about 10-20 seconds until marshmallows double in size. Just like you see on the picture. Then mix it with the spoon and you will get a sticky soft mixture.
Step 3
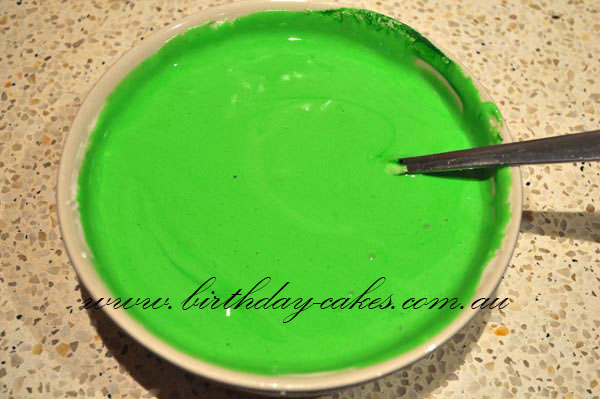
You can colour the mixture now if you just need it to be one colour. If you need different colours you can separate the melted marshmallows mixture into separate bowls and colour them in different colours. I find colouring the soft mixture so much easier than colouring already kneaded fondant. It is ok to colour kneaded fondant, but it takes more time and work.
Step 4
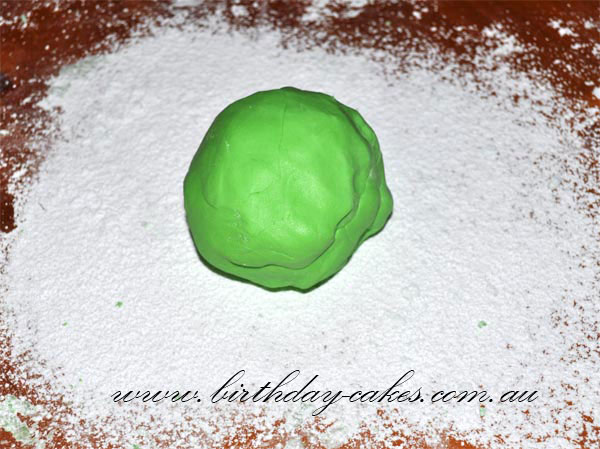
Add sifted icing sugar into the mixture until it becomes hard to mix it with the spoon. Grease the working surface with some vegetable shortening*, then sift about a cup of icing sugar and put your mixture on it. Then keep kneading* and adding as much icing sugar as needed until you get the playdough like texture. It has to be soft to be able to work with it and roll but doesn’t have to stick to your fingers. If it still ticks to your fingers, just add more sugar. Let it cool.
***I use Copha vegetable shortening available in any supermarket in butter section.
***I use Copha to oil my hands while kneading to prevent fondant while still soft from sticking to my fingers.
Step 5
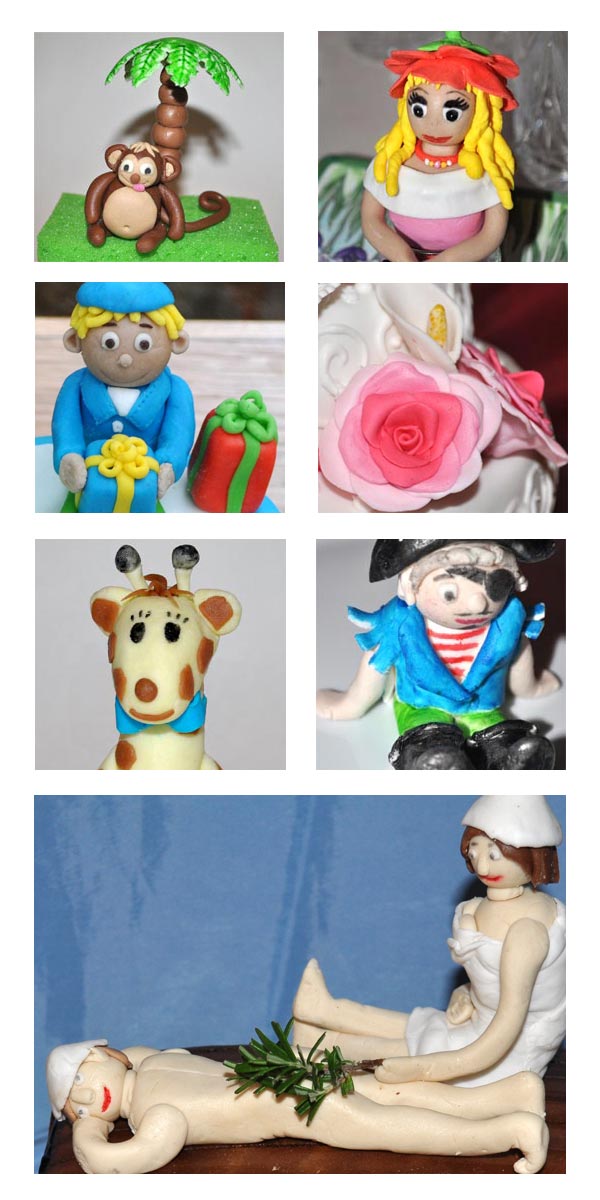
Now use your imagination and start creating your masterpieces or just roll it to cover your cake.
Storage
You can store marshmallow fondant up to 6 weeks in the fridge. You will need to cover it with cling wrap and put in an air tight container. When you need to use it, just put in a microwave for about 10-20 seconds again until it softens a bit to be able to work with it. If it softens too much just knead in a bit of icing sugar. If it is too dry then you can add a little water.
You can also freeze your marshmallow fondant for a couple of months.
If you need to store your dried fondant figures or flowers you’ll need to put them in an airtight container in a dry place where you can store them for about 2-3 months.
Date: 11/01/2010
Follow us